
Quick answer: There is no single replacement date that fits every pet toothbrush. Inspect the brush before each use and replace it when bristles bend or fray, silicone splits, the head loosens, the handle is damaged, or residue cannot be removed.
Updated: July 10, 2026 · By: Pet Gentleman Editorial Team
Editorial note: This guide avoids an unsupported universal schedule and focuses on visible wear, product instructions, and veterinary advice.
Key Takeaways
- Condition matters more than a calendar date.
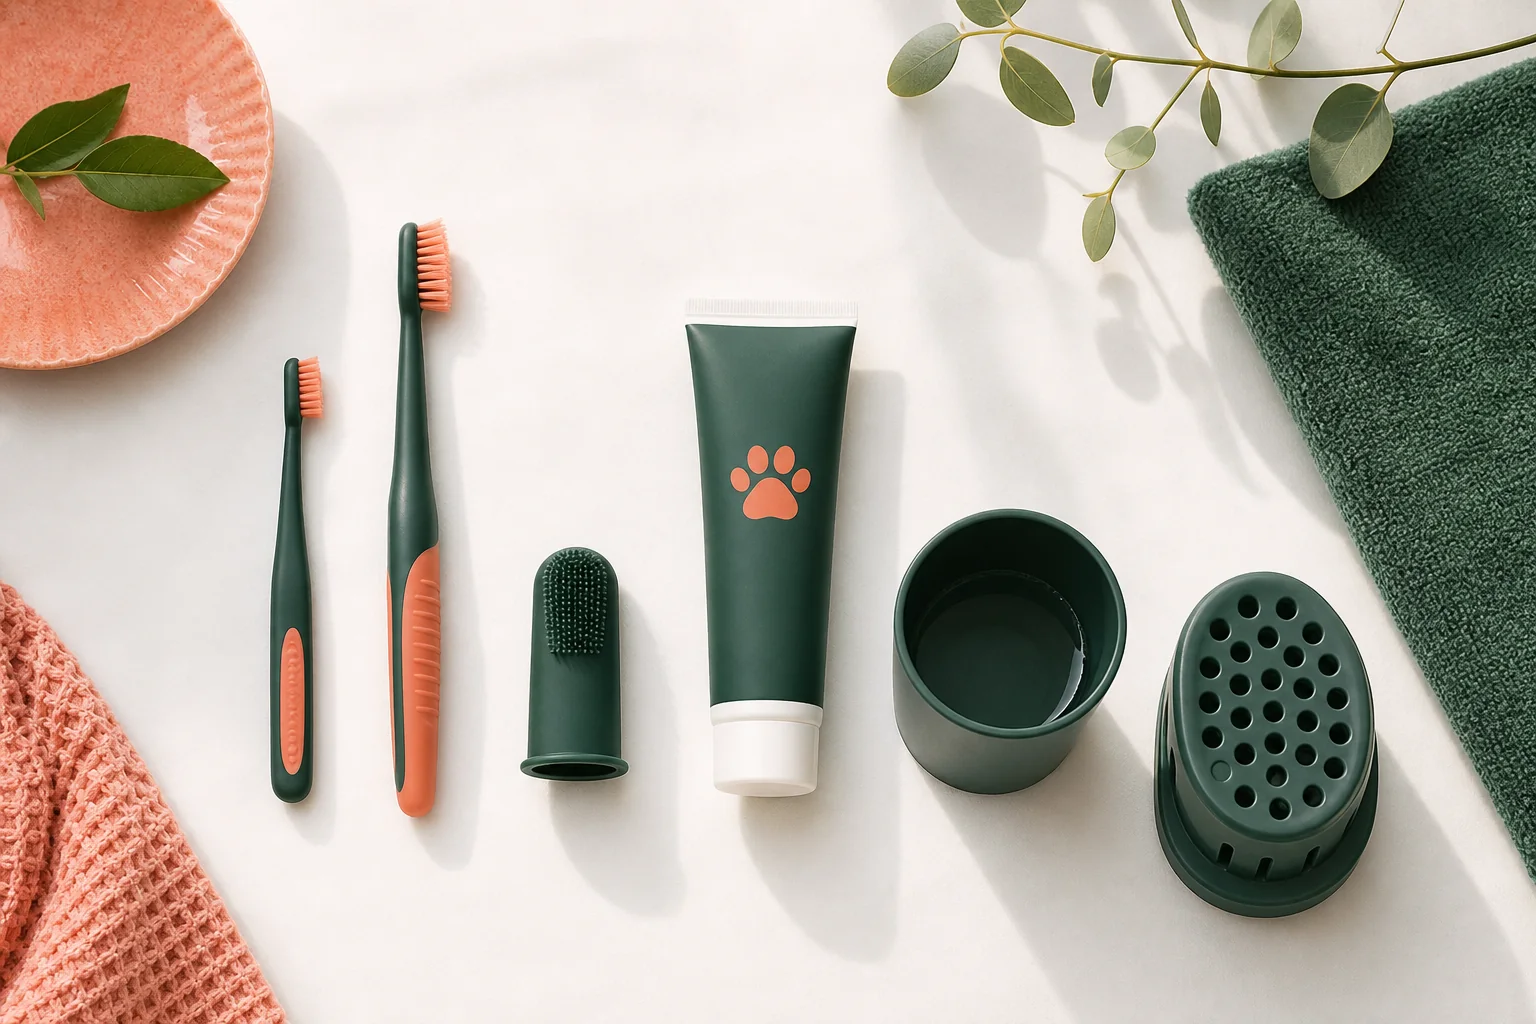
- Finger brushes and handled bristle brushes show wear differently.
- Rinsing and complete air-drying keep a brush usable.
- Do not share one brush between pets.
In This Guide
- A before-use inspection
- Replacement signs by brush type
- Cleaning and storage
- Illness and multi-pet homes
The 20-Second Inspection
Before brushing, look at the head, neck, handle, and any finger opening. Run a clean finger lightly over the surface. A pet toothbrush should feel smooth, secure, and easy to rinse. Dispose of it if a piece could detach or a rough edge could contact the mouth.
Quick Replacement Decisions
| What you see | What to do |
|---|---|
| Softer bristles that remain straight, clean, and secure | Rinse, air-dry, and inspect again before the next tooth-brushing session. |
| Frayed bristles, damaged toothbrush heads, splits, or a loose fit | Replace the pet toothbrush before it touches the teeth and gums. |
| Pain, bleeding, infection, or recent dental care | Pause home brushing and ask the veterinary team when oral-health care can safely resume. |
A calendar reminder can prompt an inspection, but it should never overrule visible damage, the product instructions, or veterinary advice.
Signs a Bristle Brush Needs Replacement
- Bristles lean outward, clump, flatten, or feel sharp.
- The brush head is cracked or loose.
- The neck or handle bends unexpectedly.
- Residue or odor remains after thorough rinsing and drying.
- Your pet has chewed the brush.
Worn bristles reduce control and can make gentle pressure harder to judge. Do not trim, glue, or reshape a damaged pet toothbrush.
Signs a Silicone Finger Brush Needs Replacement
- The silicone splits, tears, becomes sticky, or develops rough edges.
- The brush no longer fits securely on the finger.
- Small projections are damaged or missing.
- The material holds odor or residue after cleaning.
A loose finger brush can create a choking hazard. Confirm the fit before bringing it near a pet’s mouth and stop if the brush shifts during use.
Cleaning and Storage
- Rinse the brush promptly after use.
- Remove visible toothpaste and debris without using harsh household cleaners.
- Shake off excess water.
- Let the brush air-dry completely in a clean, ventilated place.
- Store it where pets cannot chew it and where brush heads do not touch.
Follow any cleaning or replacement instructions supplied with the product. If the manufacturer specifies single use, do not reuse it.
After Illness or Oral Treatment
Ask your veterinarian whether to replace the brush after a contagious illness, oral infection, dental procedure, or medication course. The answer depends on the diagnosis and product. Do not brush a painful or recently treated mouth until the veterinary team says home care can resume.
Multi-Pet Homes
Give each pet a separate brush and label the handles. Sharing can transfer saliva and also makes it harder to choose the right head size and monitor wear. A separate brush also prevents one pet from chewing another pet’s tool.
Sources
Veterinary disclaimer: A clean toothbrush supports home care but does not make brushing appropriate for a painful, bleeding, or diseased mouth. Ask a veterinarian when to resume after treatment.